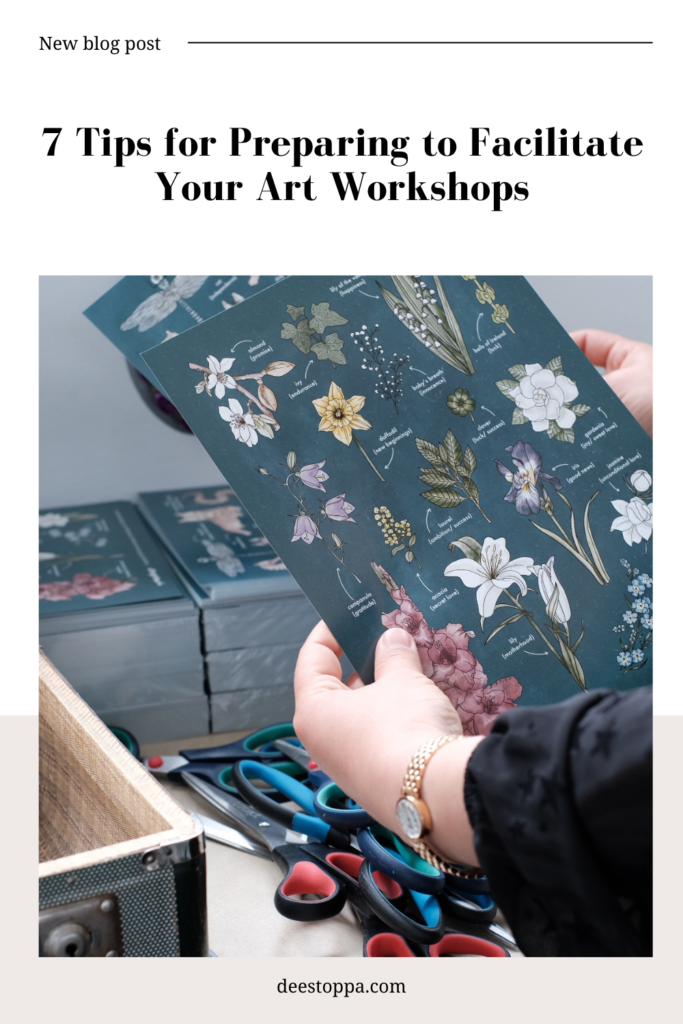
Here’s a sneak peek into how I prepare to facilitate my signature Symbollage workshops. Whether you’re planning an art workshop or any interactive experience, I hope the tips below can help you on your journey.

1. Assembling Symbol Packs
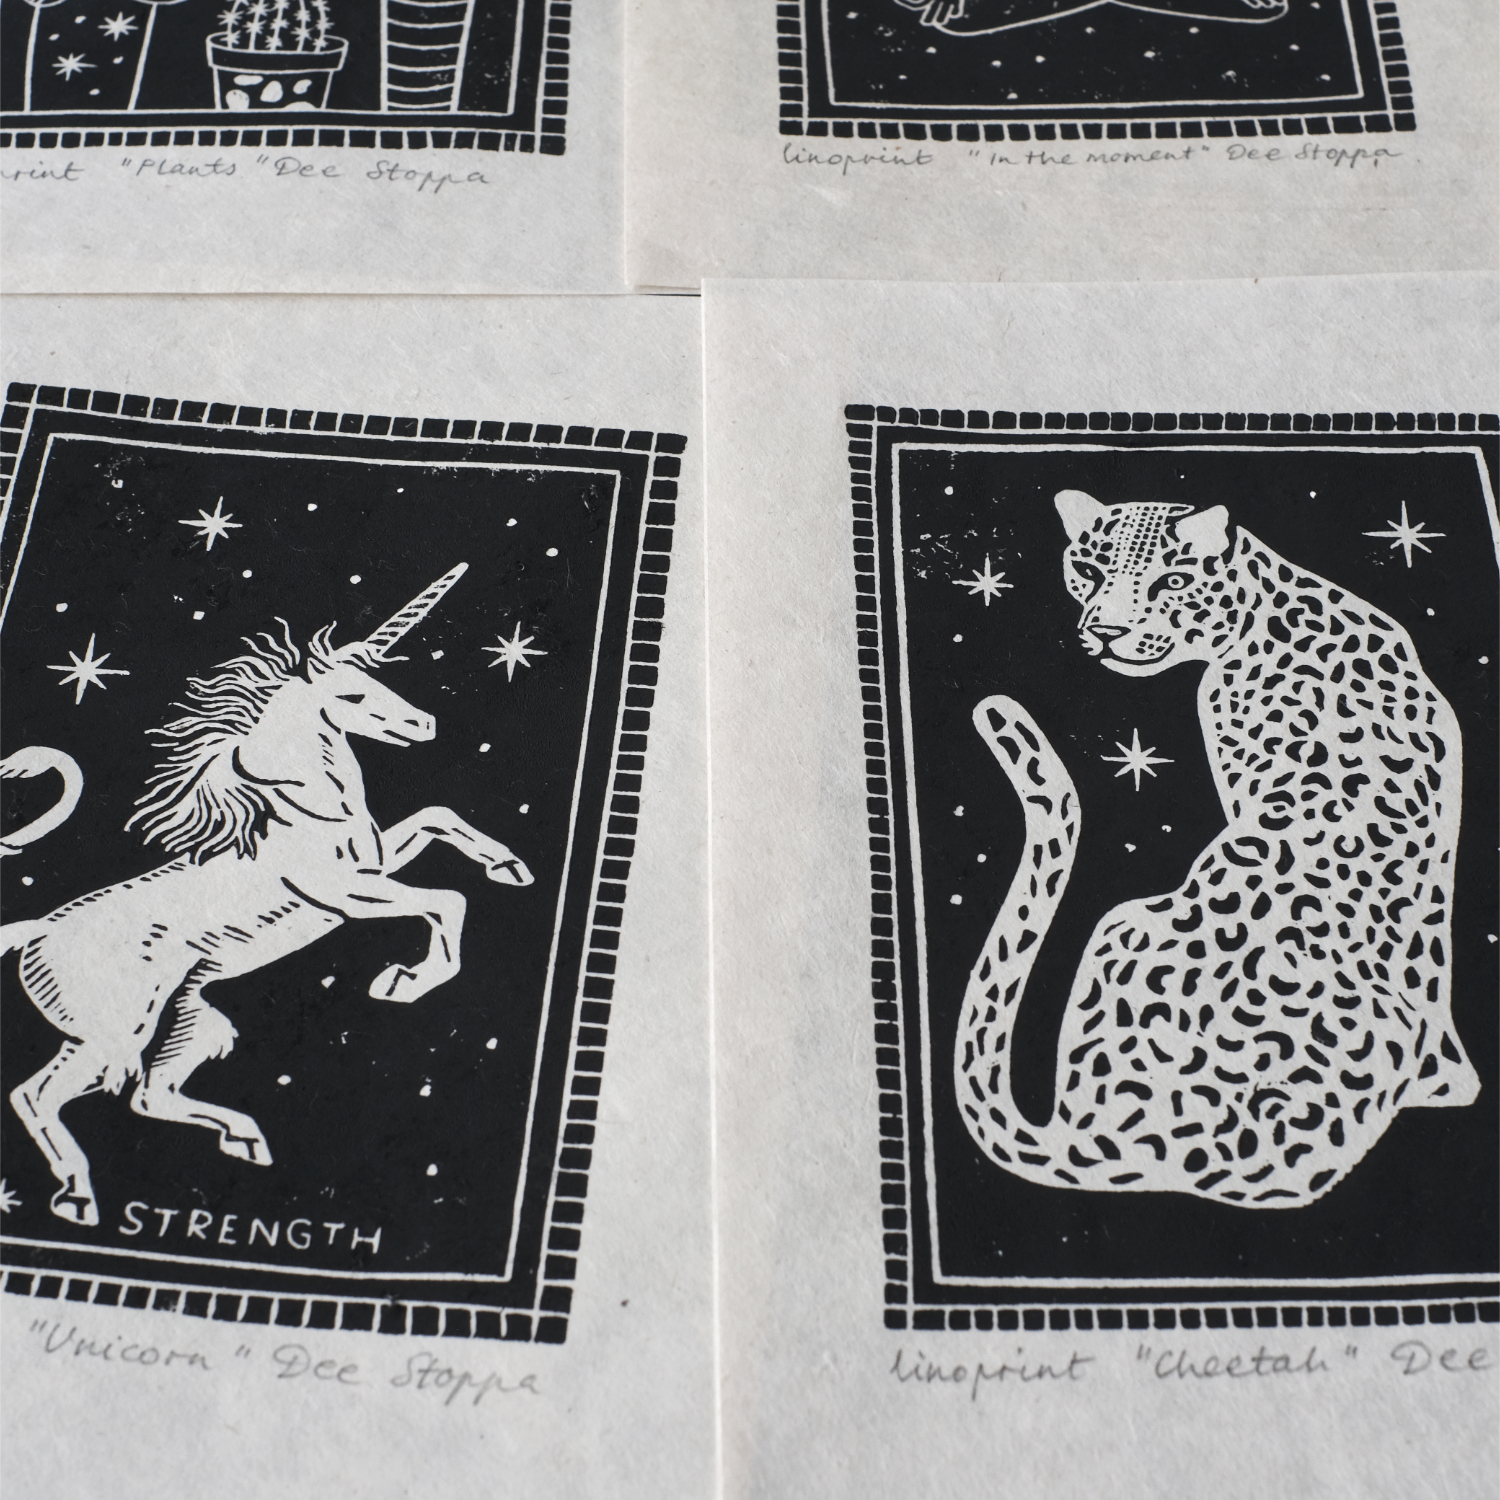
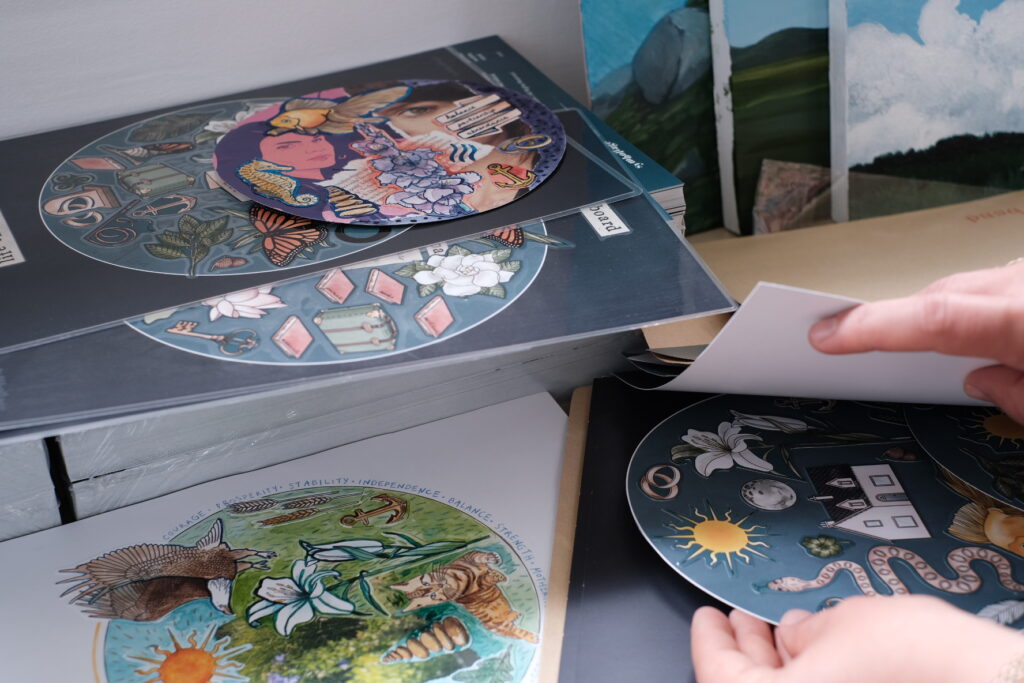
I start the preparations by putting together a pack – a simple hard-back envelope that contains three identical sets of symbols.
This allows for a wide range of creative expression and putting together of multiple symbolic collages.
When preparing materials for participants, ensure variety and abundance to foster creativity. Multiple options can help participants feel more engaged and less restricted in their artistic endeavours.
Tip no 1
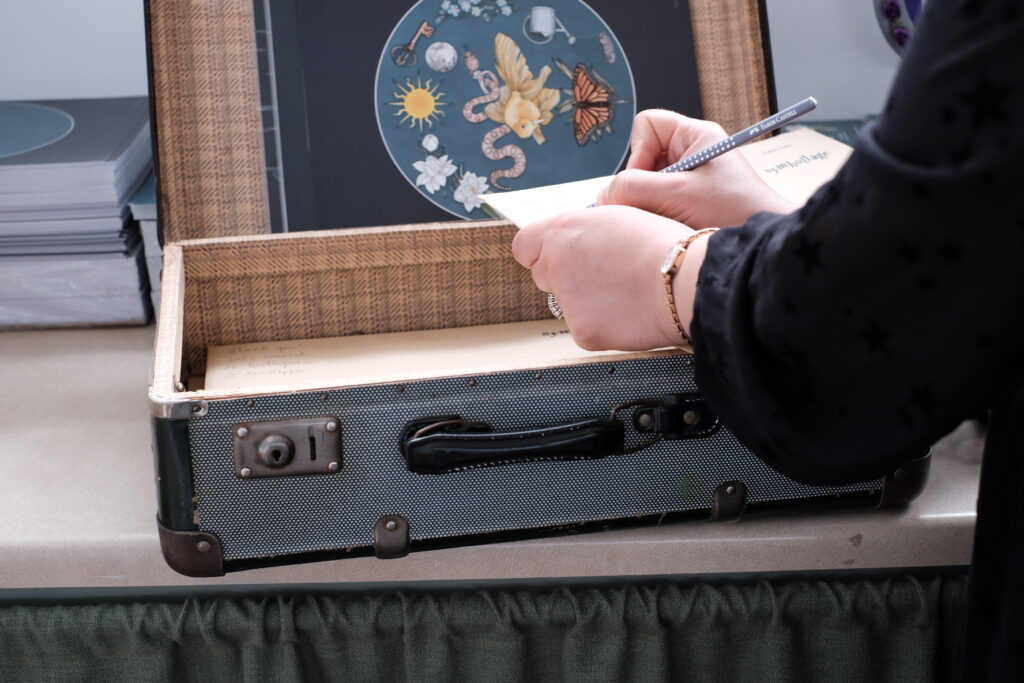
2. Handwritten Call to Action
I write a little note on each envelope containing the symbol packs that says: “Thank you! Let’s connect on Instagram @deestoppa.” This personal touch invites participants to stay in touch and receive updates about other workshops and experiences.
Adding a personal touch, such as a handwritten note, can create a more intimate connection with participants. Encourage them to connect on social media to extend the workshop experience and build a supportive community.
Tip no 2
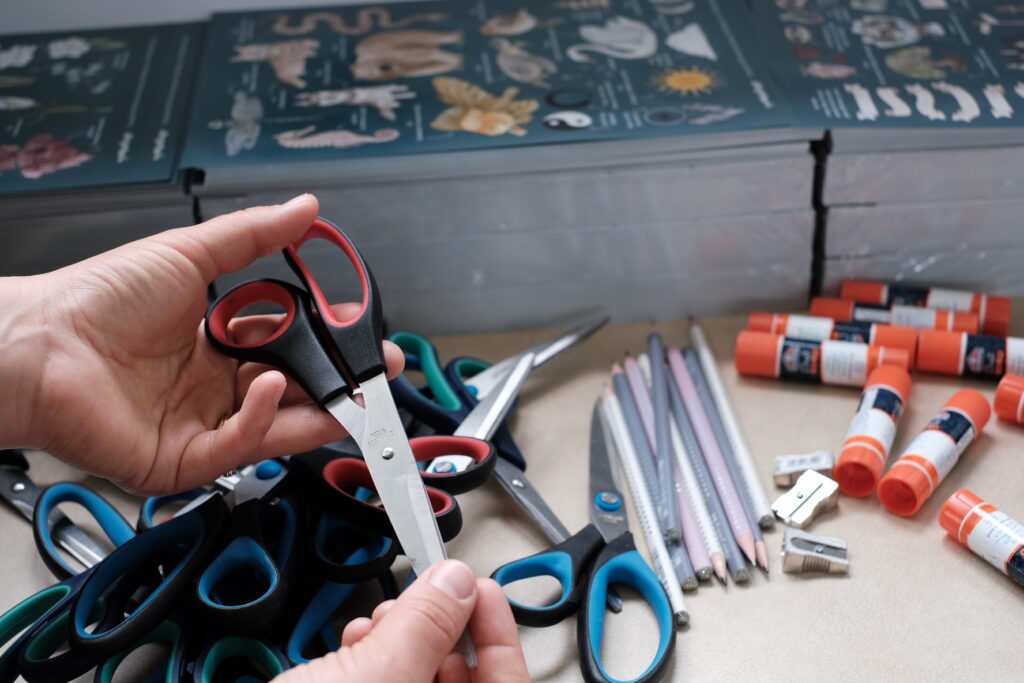
3. Preparing Materials and Tools
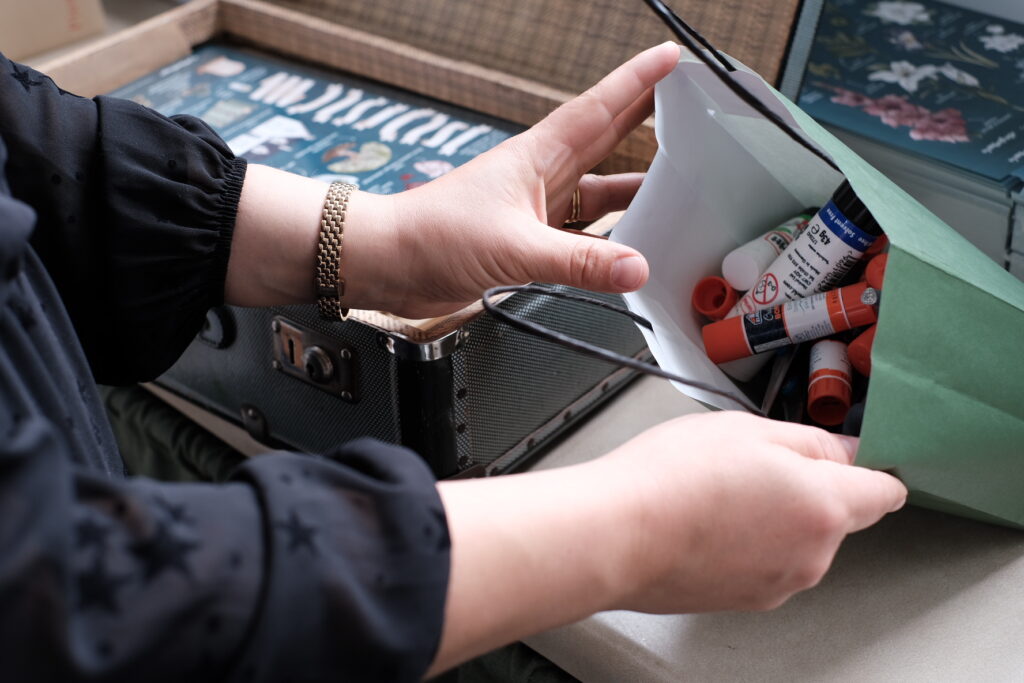
I prepare scissors (including a few left-handed ones), glue, and graphite pencils, to make sure that every participant has what they need to bring their vision to life.
Always have a variety of tools available and consider the needs of all participants, including left-handed individuals. This inclusivity ensures everyone feels comfortable and equipped to participate fully.
Tip no 3
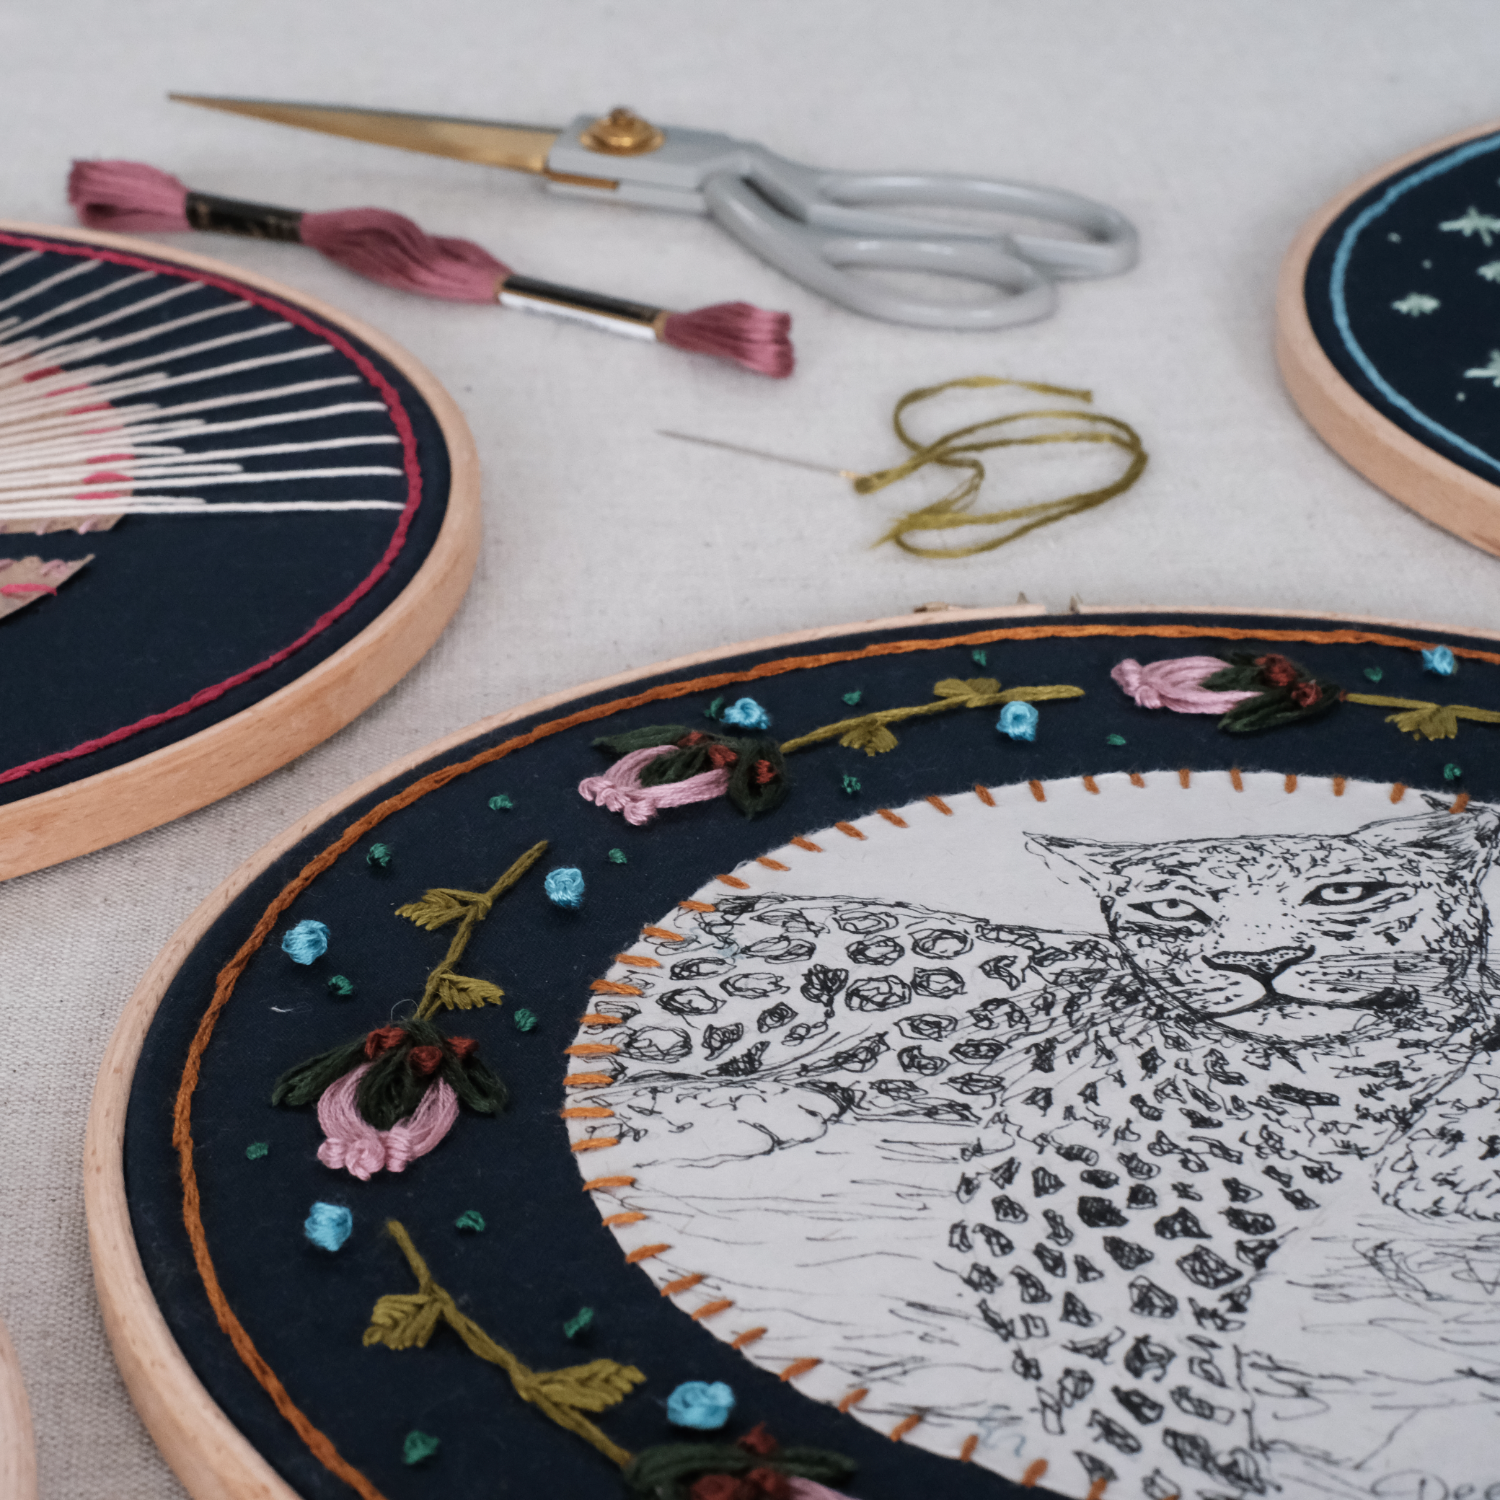
4. Bringing Examples and Inspirations
To inspire participants, I prepared sample symbolic collages on themes such as “Special Connection,” “Vision Board,” and “Life Chapter.” These examples serve as an introduction, sparking ideas and showing the possibilities of what they can create during and after the workshop.
Providing sample works can help guide and inspire participants, especially those who may feel uncertain about where to start. Clear, themed examples can stimulate creativity and provide a framework for their own creations.
Tip no 4
5. Double Checking Materials
Before the workshop, I double-check all materials to ensure nothing is missing. This step helps avoid last-minute hiccups and ensures the workshop runs smoothly.
Have a list and always double-check your materials before the event. This preparation step can save time and prevent the stress of discovering missing items during the workshop.
Tip no 5
6. Personal Grooming
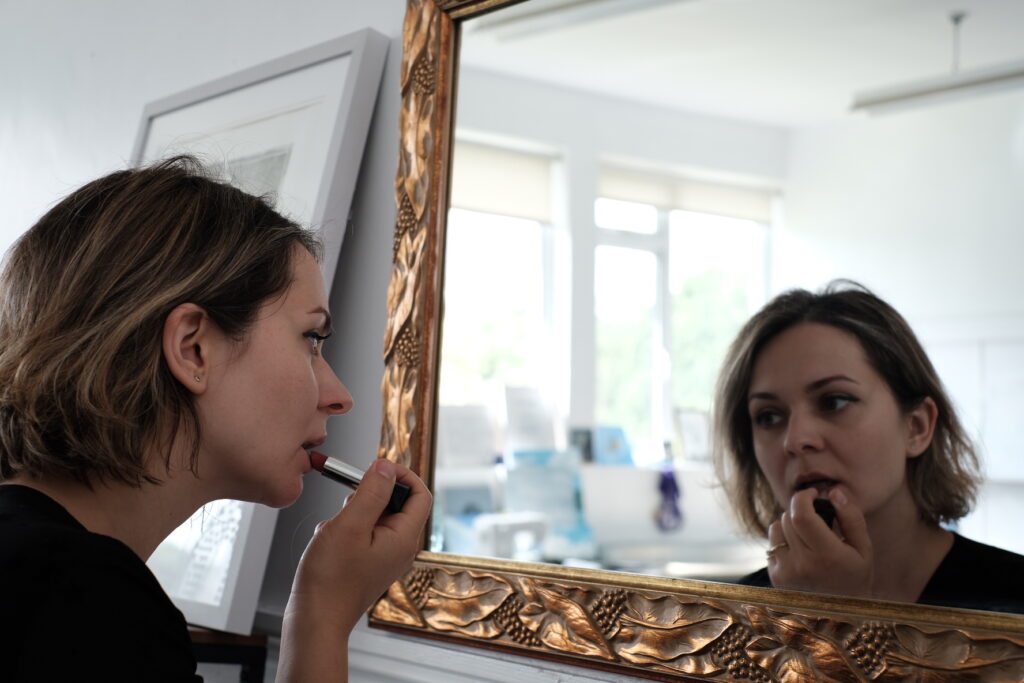
Finally, a touch of personal grooming, such as applying lipstick and ensuring a neat appearance, helps present a professional yet approachable image. This final step adds to the overall polished feel of the workshop.
Pay attention to your appearance as the facilitator. Looking neat and approachable can make participants feel more at ease and reinforce your role as a confident and prepared educator.
Tip no 6
7. Plan the Atmosphere
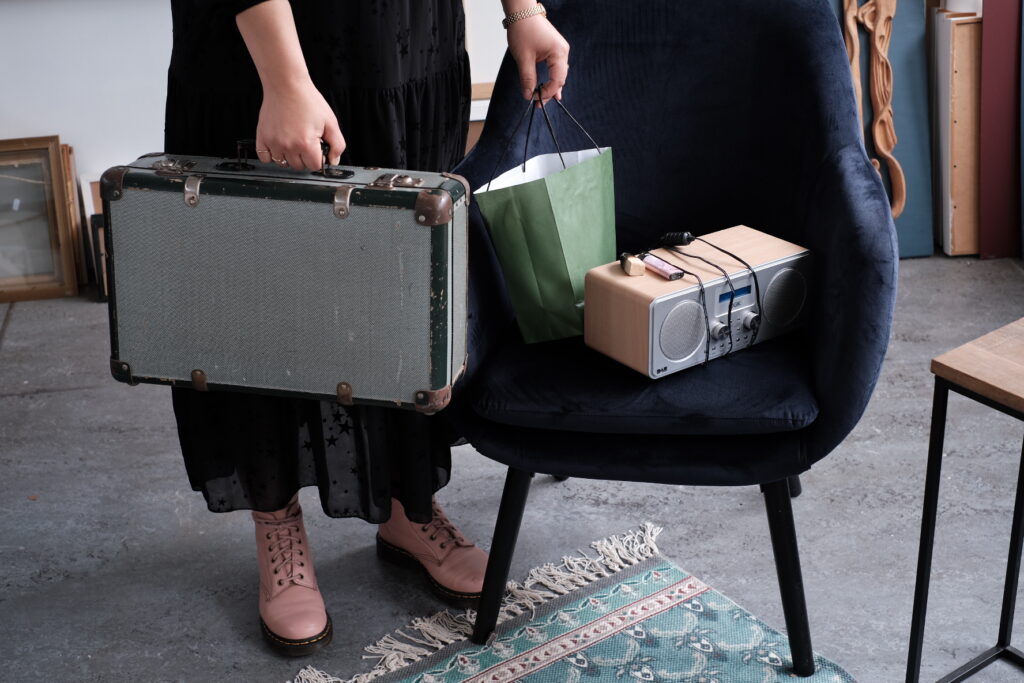
To create a relaxing environment, I pack a speaker or Bluetooth radio to play calming background music. The right soundtrack can enhance the creative ambience and help participants focus.
I also bring Palo Santo and a lighter to cleanse the room and prepare the space with a pleasant natural fragrance. This ritual helps set a positive tone and creates a welcoming environment.
Background music can significantly impact the atmosphere of your workshop. Choose calming, non-distracting music to create a relaxing and inspiring environment. Make sure the volume is right, it should be barely noticeable. Consider incorporating a simple cleansing ritual or essential oils to enhance the atmosphere. A pleasant scent can make the space feel more inviting and help participants feel more relaxed and open to creativity.
Tip no 7